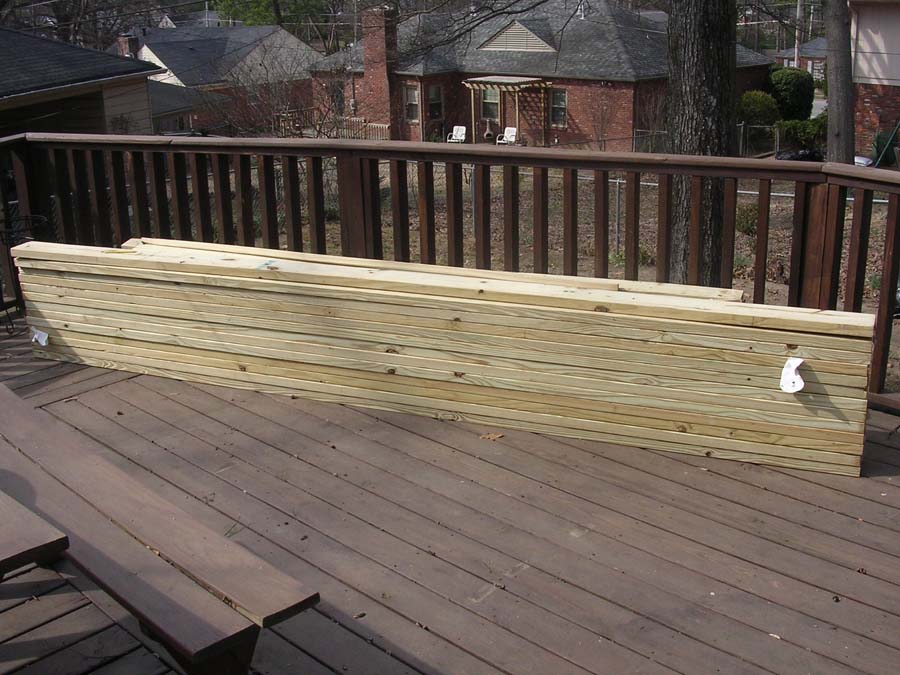
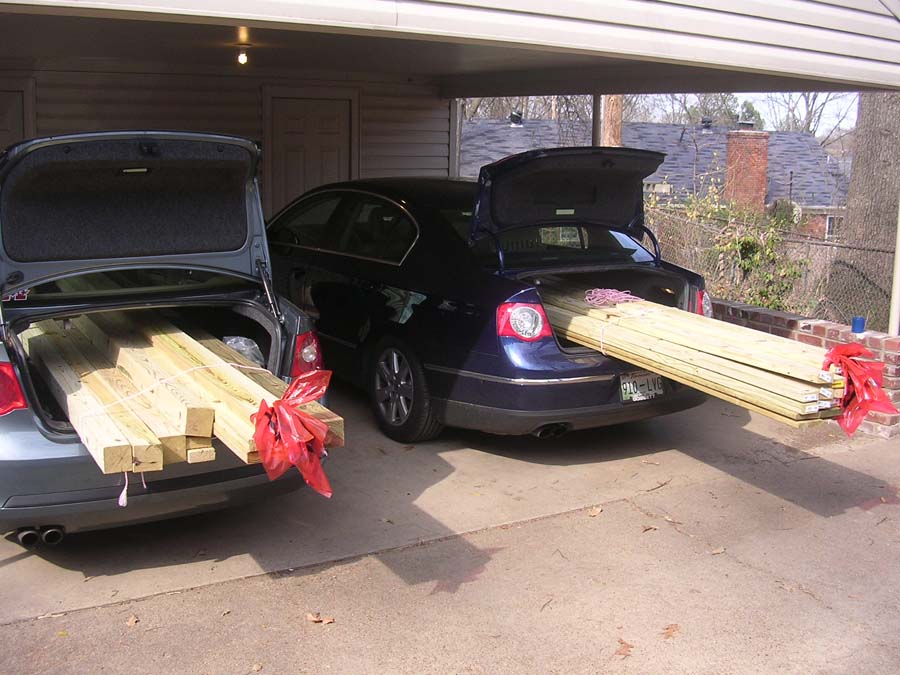
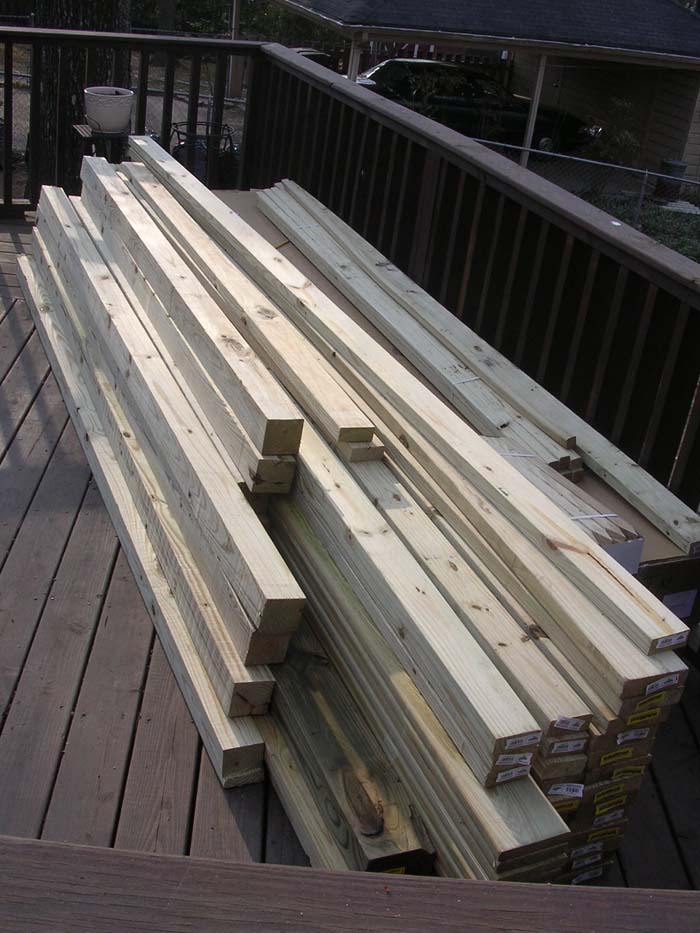
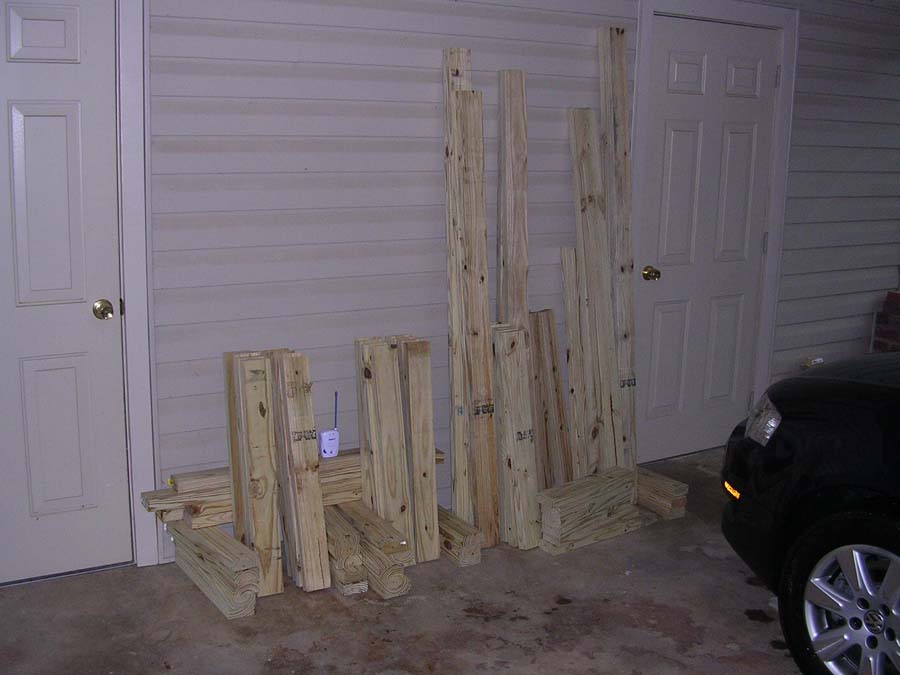
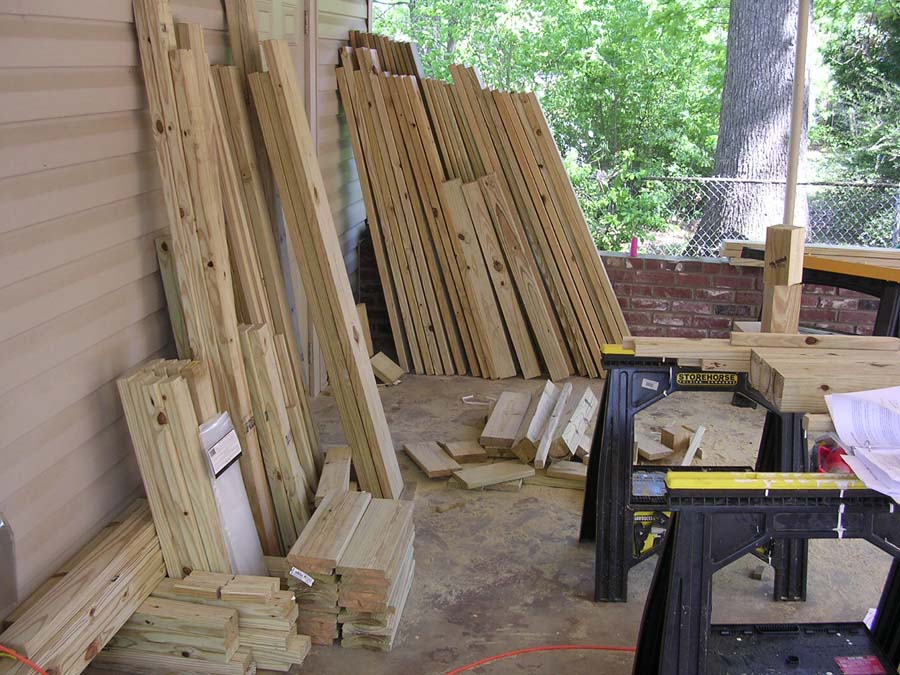
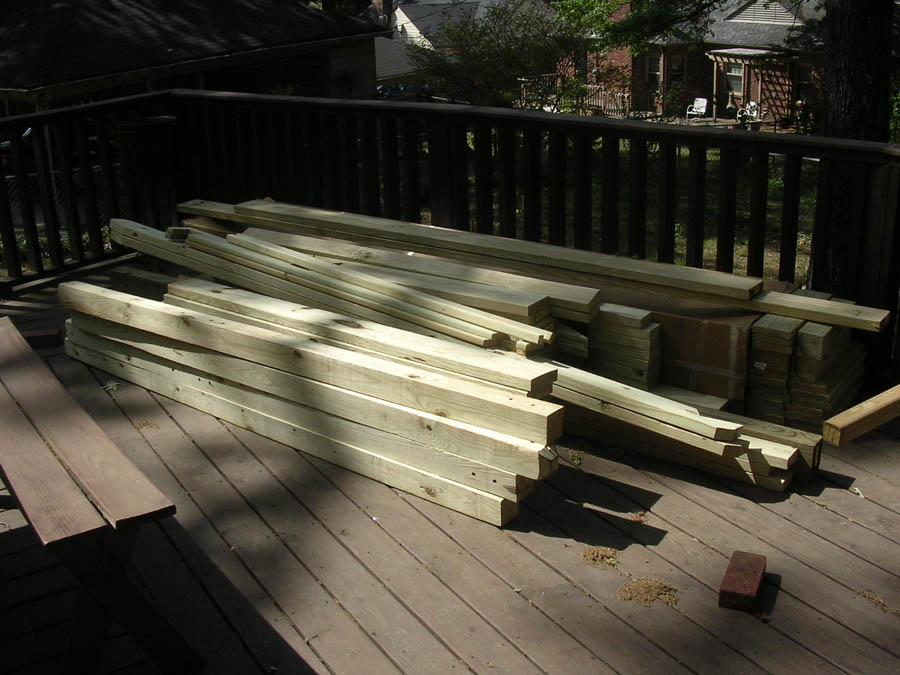
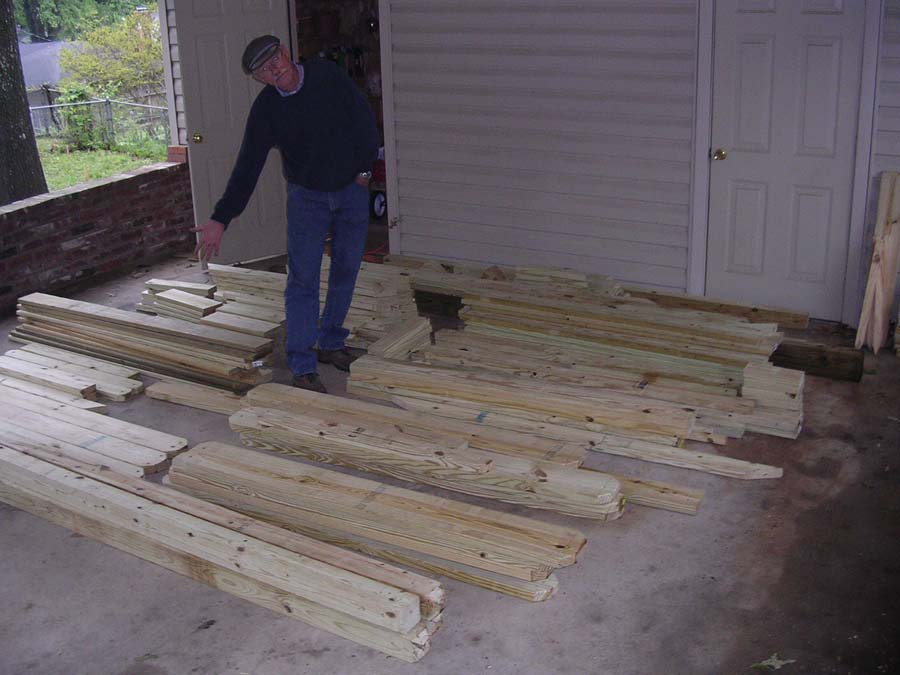
Raw Materials:
Pictures of the first load of lumber (with the plastic slide boxed up and behind the pile), the second and third car loads, and the whole lumber pile.
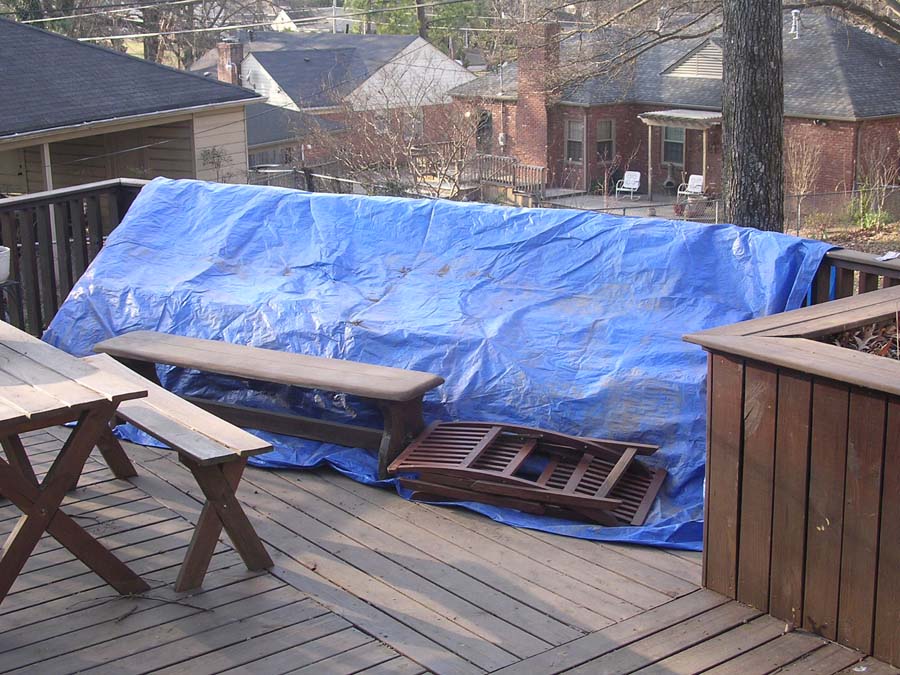
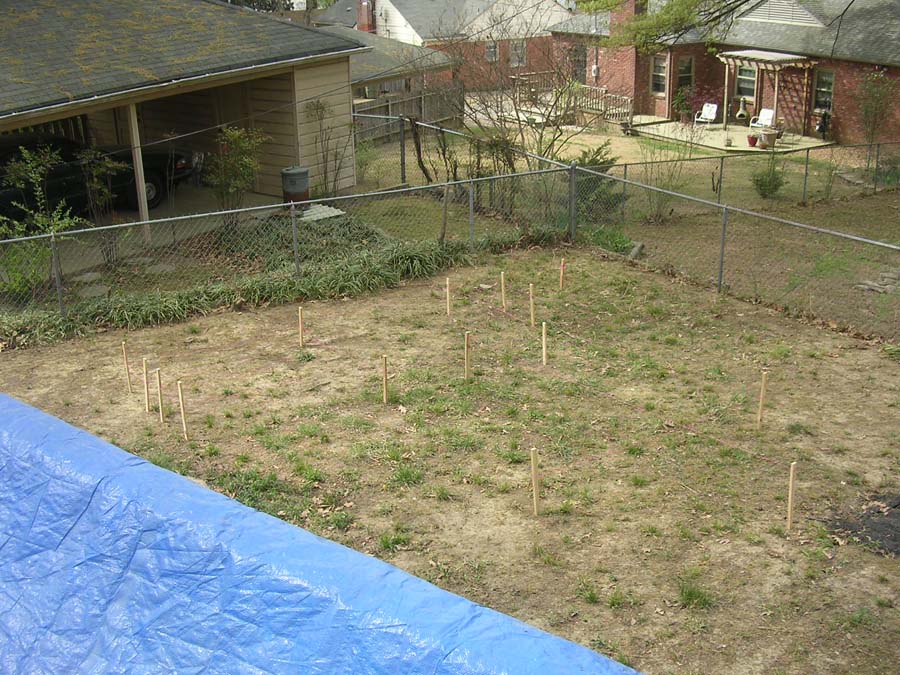
Preparing the Site:
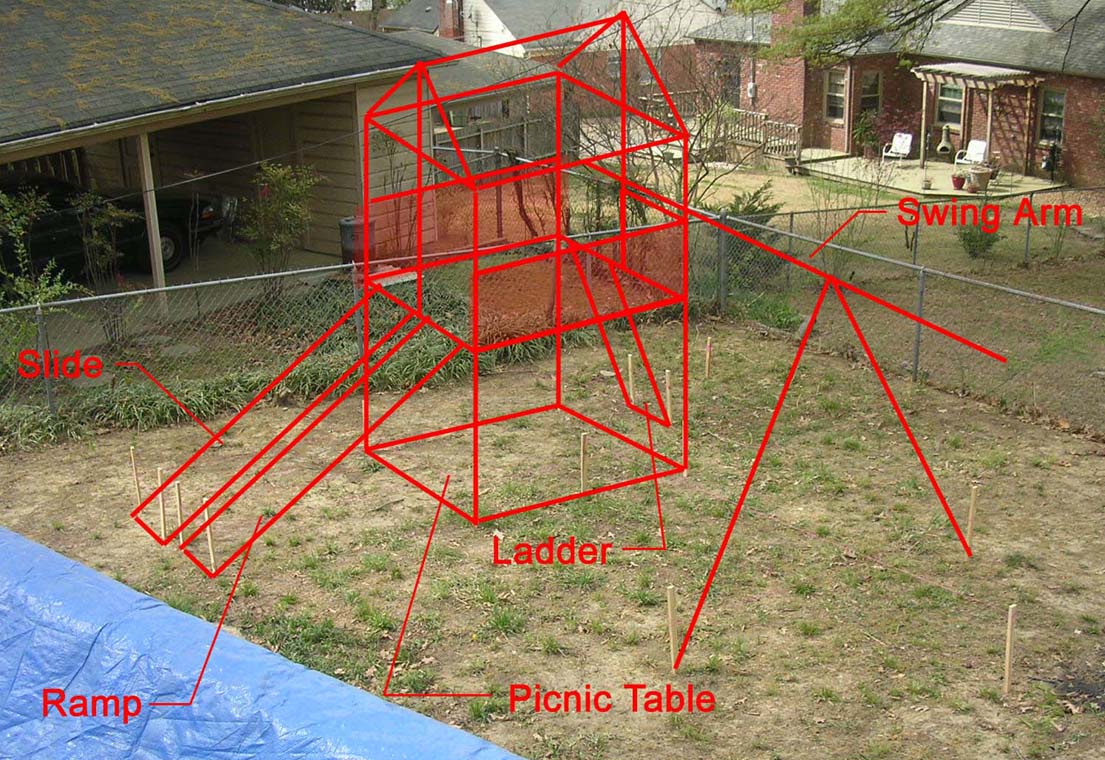
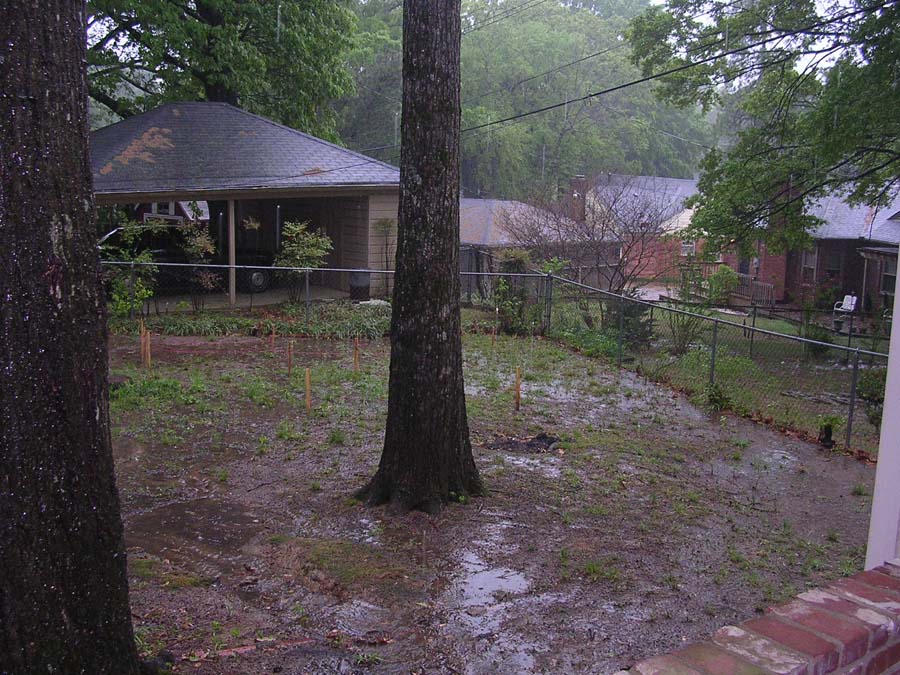
We staked out the whole thing to figure out how it would fit in the yard (dodging trees and trying to find a level spot for the fort to sit on), then I got on the computer and tried to show what the final product will look like.
Pre-Assembly:
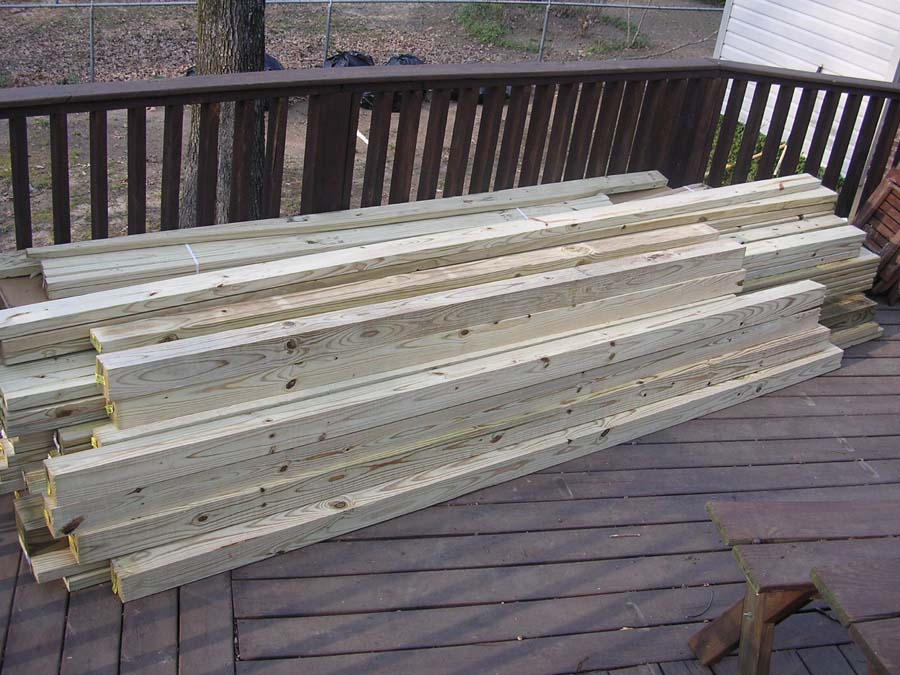
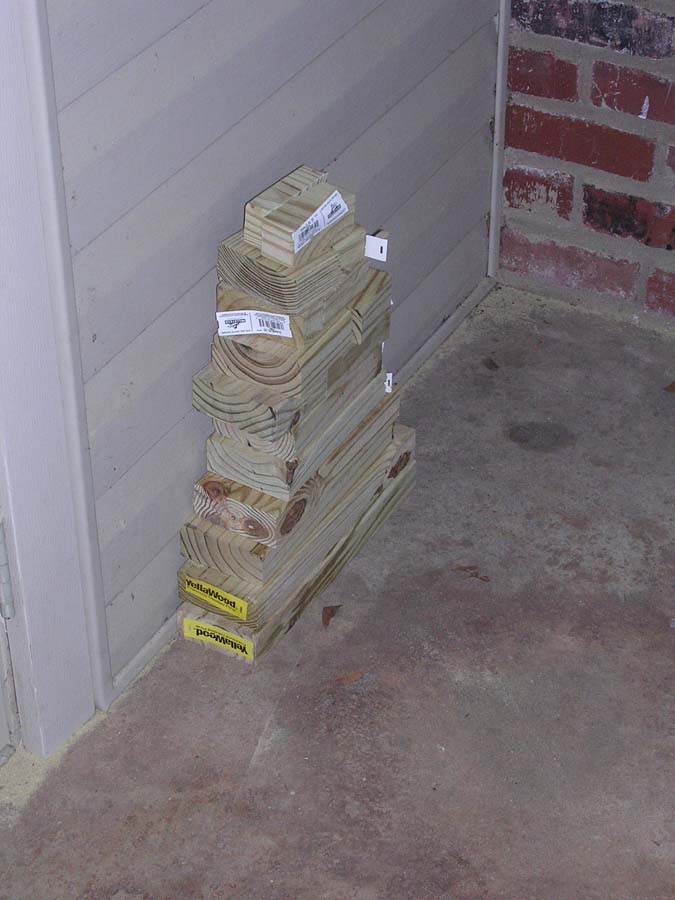
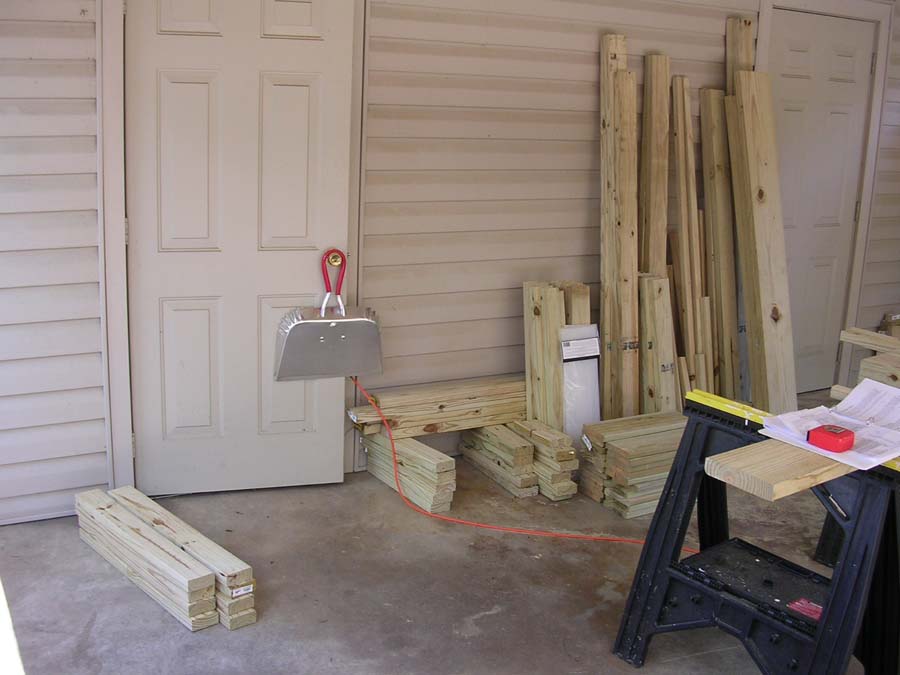
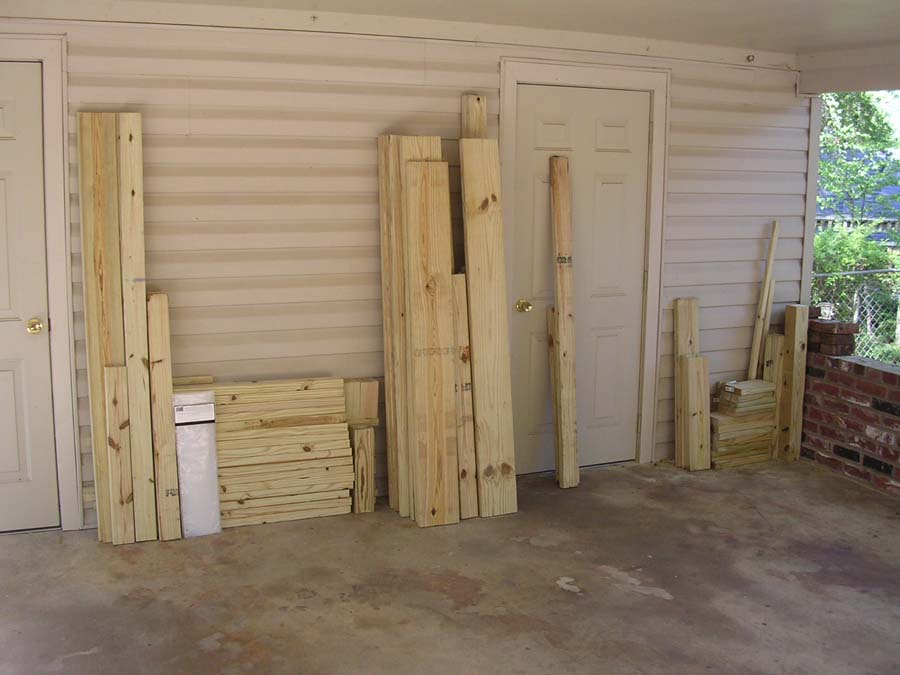
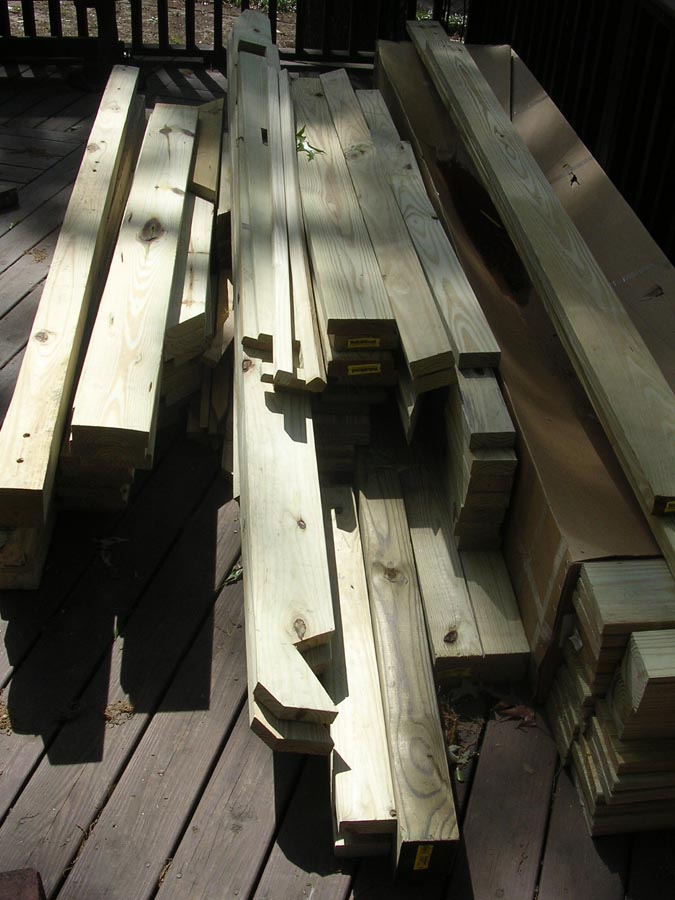
We started with about 60 or so pieces of lumber stacked up on the deck. The first weekend was spent converting that in to a couple hundred smaller pieces. The first picture is Saturday's output: we converted 16 2x4's into that pile of wood. The second picture is all of the waste left over from those 16 boards. The last picture is of the rains that arrived as we were nearly through cutting. The carport makes a great place to work, though, and we were able to finish off the 2x4's while the rain came down. The other pictures are from Sunday (April Fool's Day), when we cut the rest of the lumber up. We initially had everything in the carport (except for the big swing arm that didn't need cutting and the 4x4 posts that got slightly trimmed and returned to the deck), but the last two pictures show the final distribution of lumber: big pieces and items that won't need additional cutting went back under the tarp on the deck, and the pieces that need additional cutting (corners trimmed or notches cut) are arranged in a few groups at the back of the carport so we won't have to carry them far next weekend. There's also some scrap in the corner of the carport. We're keeping it all for now – the plans that we bought seem to be very efficient, since that pile to the right of the door is everything that we didn't use out of more than sixty boards.
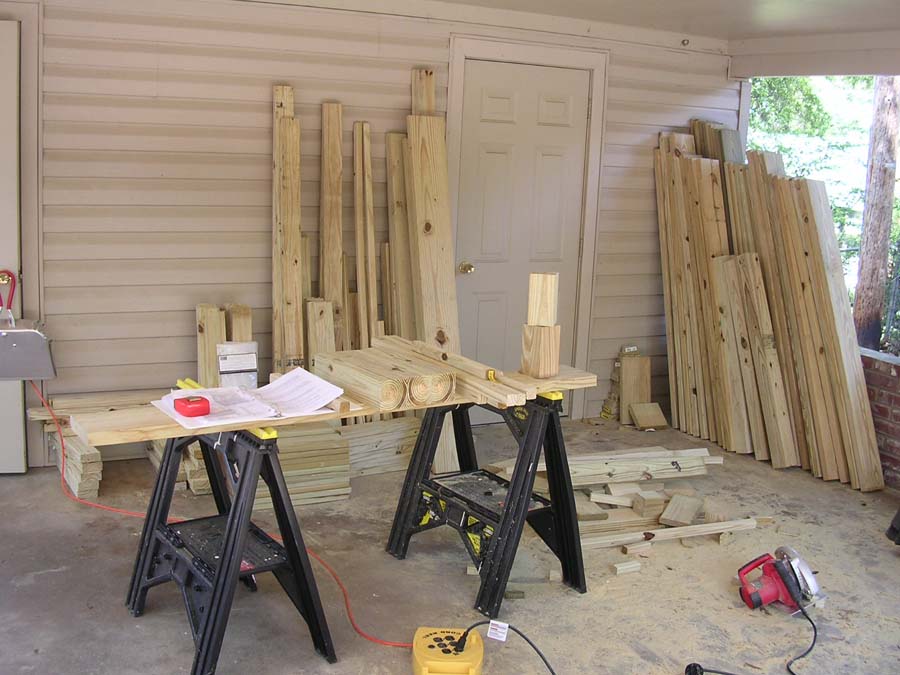

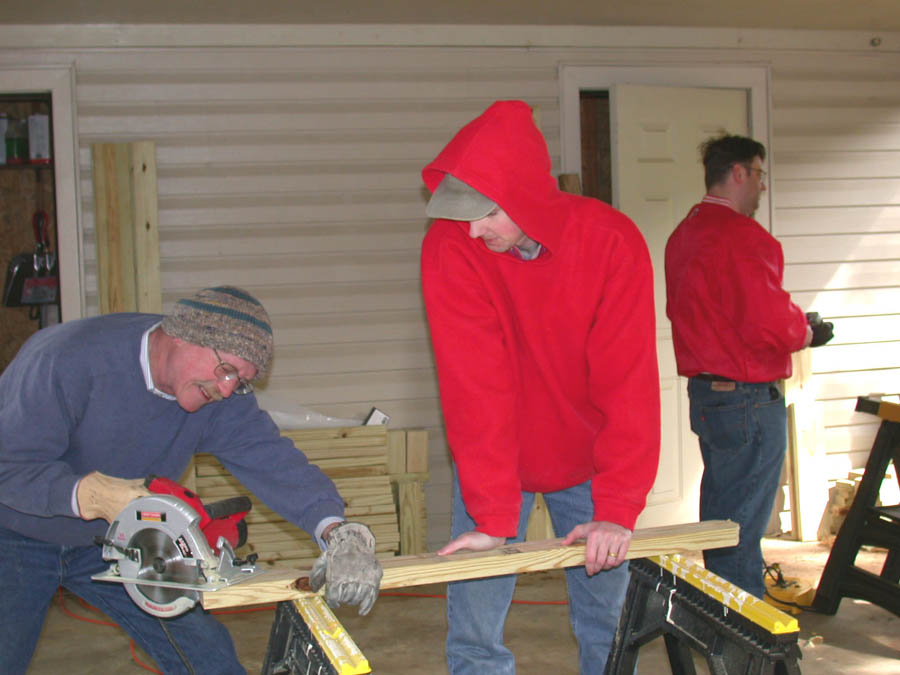
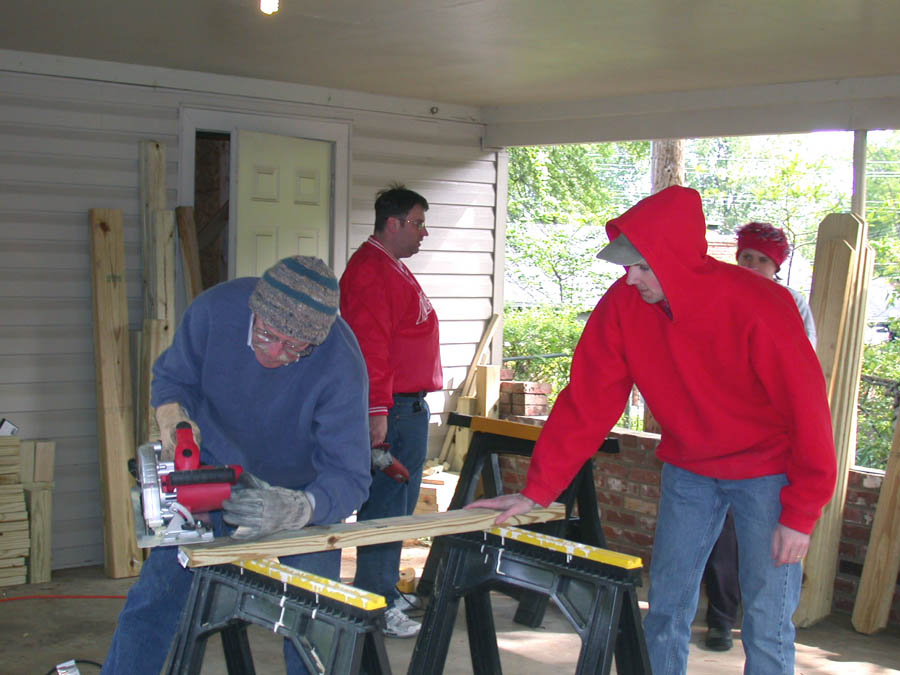
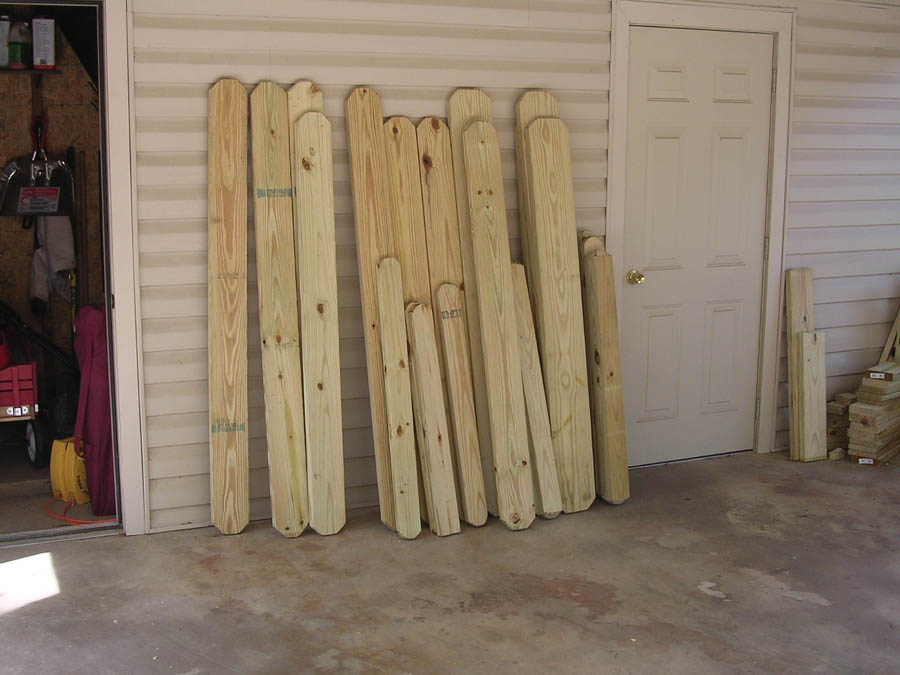
The Saturday before Easter, we spent some time making detail cuts, sanding corners smooth (a process made much quicker thanks to a grinder from the metal shop and some able assitance from Marquis and Rachel), and starting to drill holes. In a bit of very random Memphis weather, the temperatures dropped from last week's low 80's to a quite nippy low 40's. Boards that are either drilled (the 4x4 main posts) or don't need any drilling are back on the deck. The last picture is of the boards that still need holes drilled in them, but we decided to take Easter Sunday off and will resume drilling holes next weekend. We expect to also be able to do some assembly next weekend, although it may run over into the following weekend before we're done.
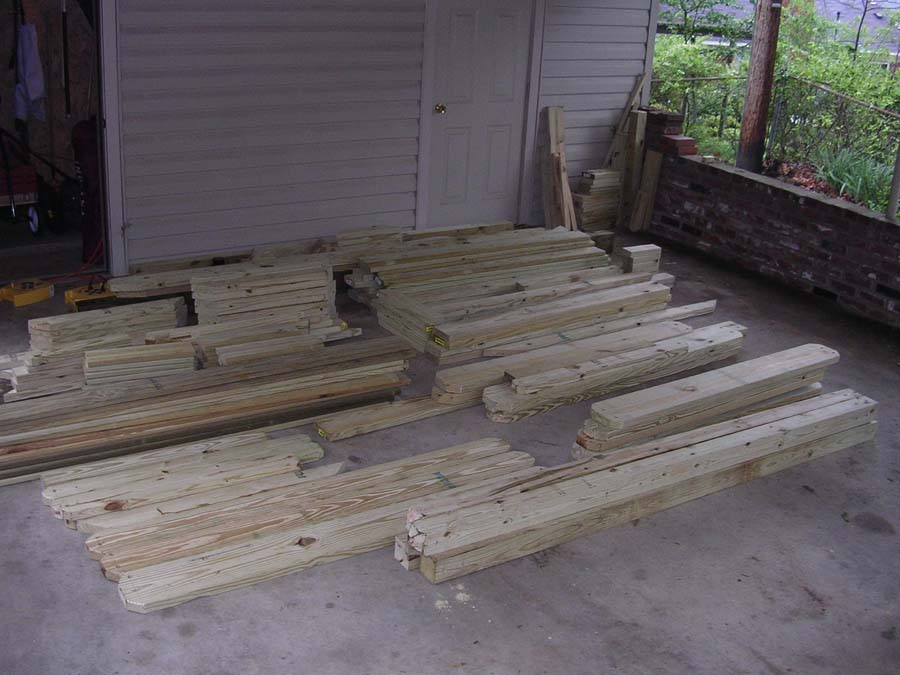
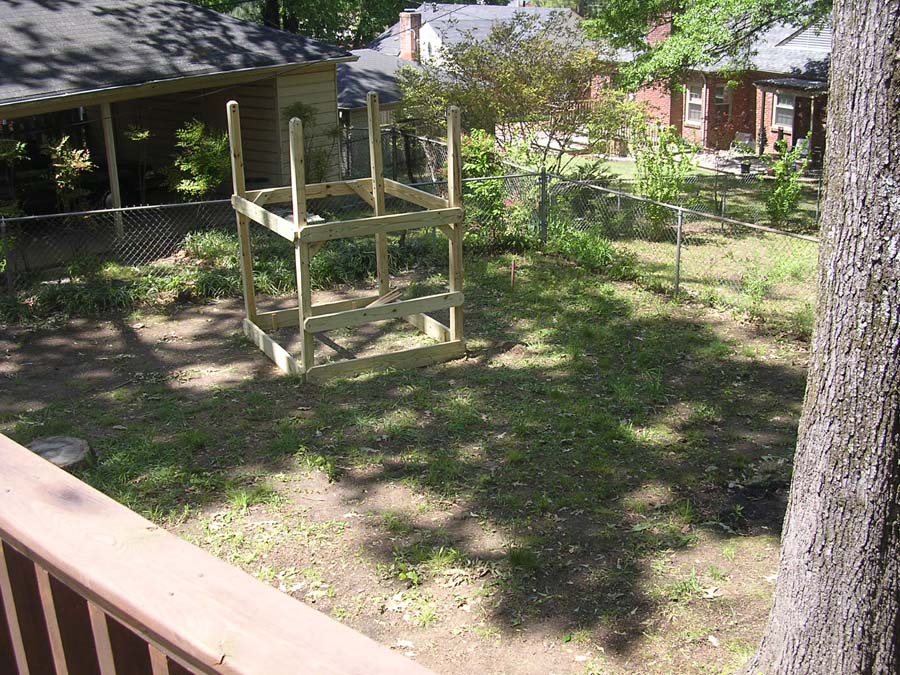
The 4x4's were a real pain to drill 1/2" holes in that second weekend, but on the third weekend we got better at it – in addition to drilling a lot of holes in 2x4's, 2x6's, and 2x8's, we also drilled a bunch of additional holes in 4x4's and one 4x6. By the end of that third Saturday, we had all the holes drilled and all of the pieces laid out in the carport.
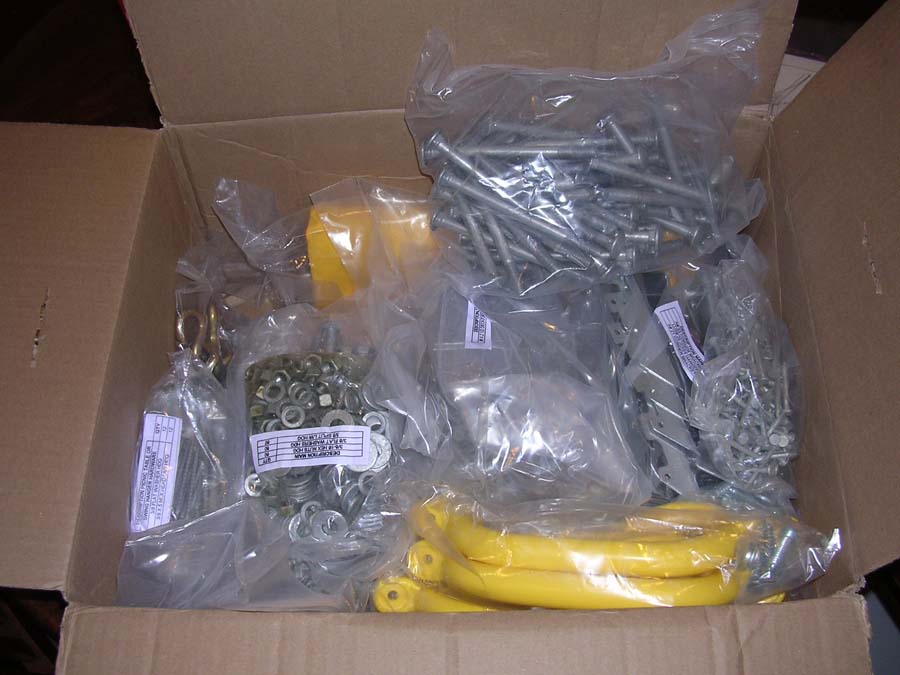
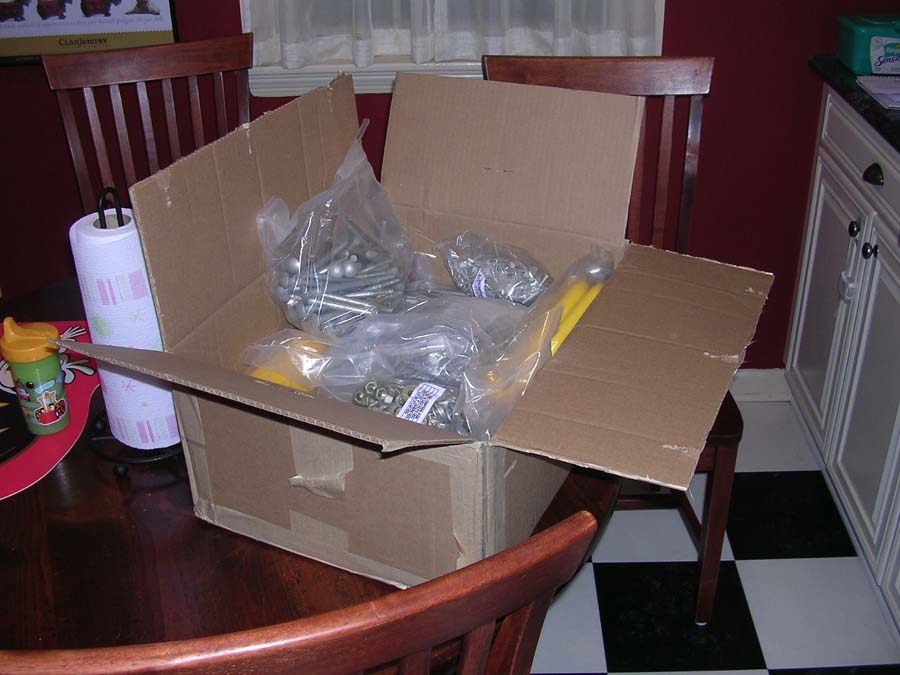
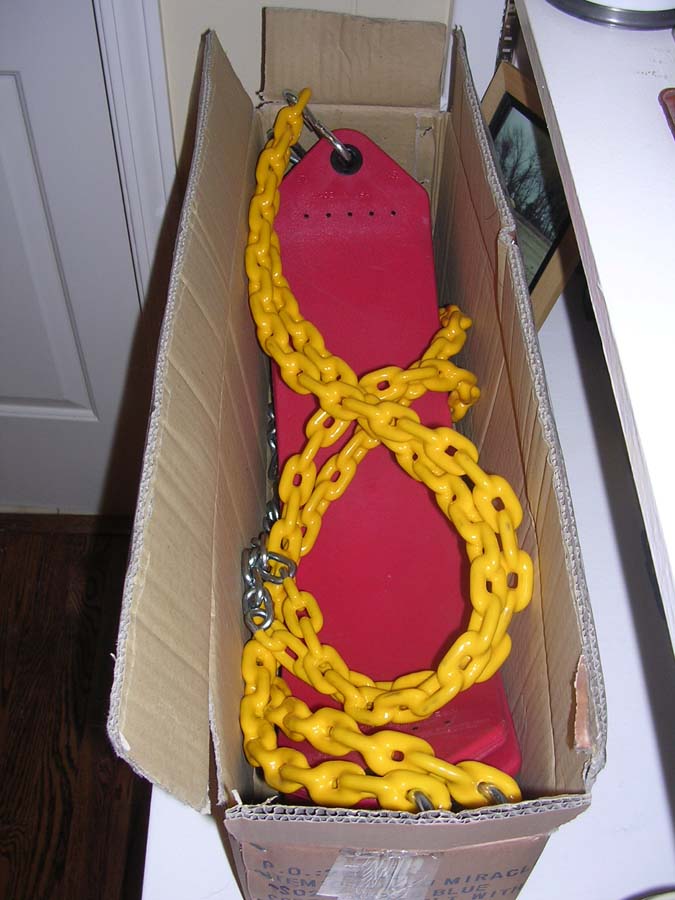
That Saturday night, we pulled out the boxes of hardware and accessories and started scheming, because the third Sunday was going to bring the beginning of assembly...
Assembly:
Once the pieces were cut, we had to put them all together (obviously)...
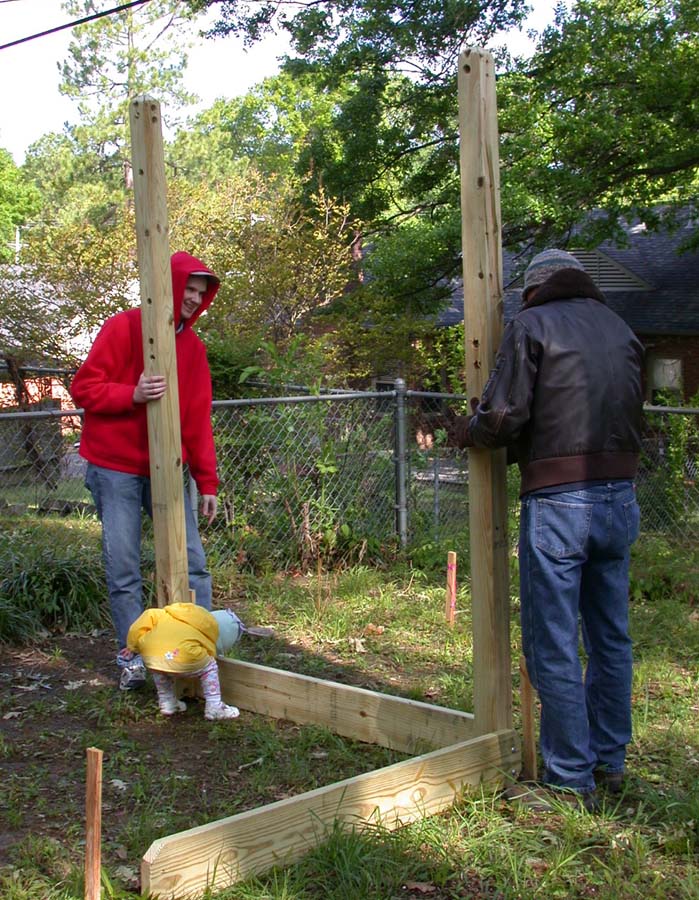
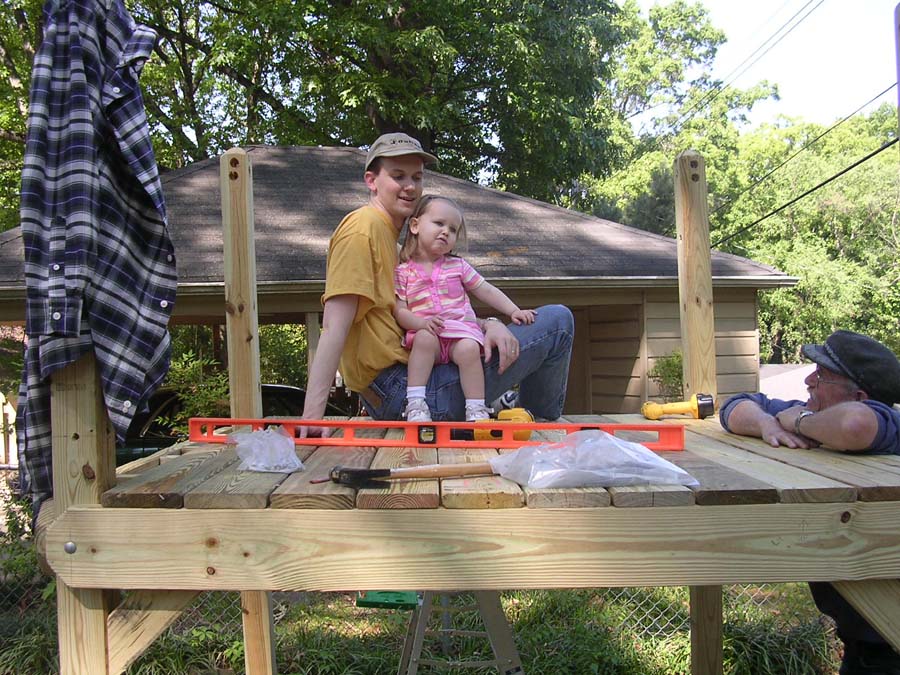
The third weekend (like the second weekend before it) was unseasonably cold, but we were still able to get out in the yard on Sunday and start putting stuff together. Kate even grabbed a tiny ratchet and tried to help tighten some carriage bolts. She also ran around inside the completed frame and declared, "I like it! I like it!"
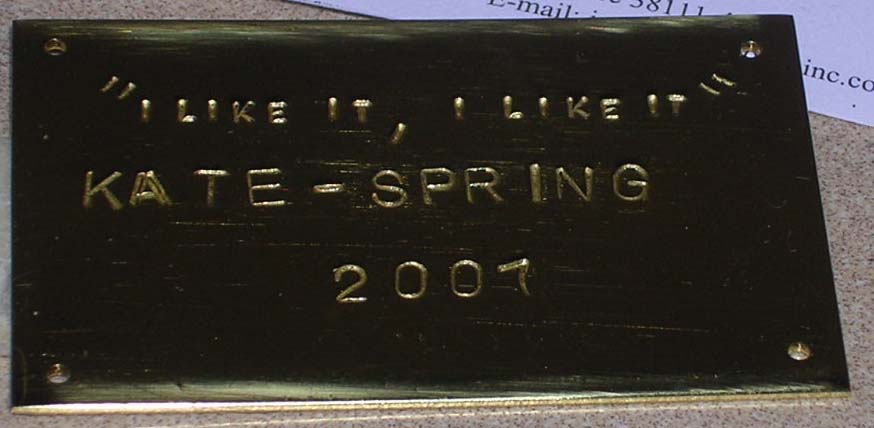
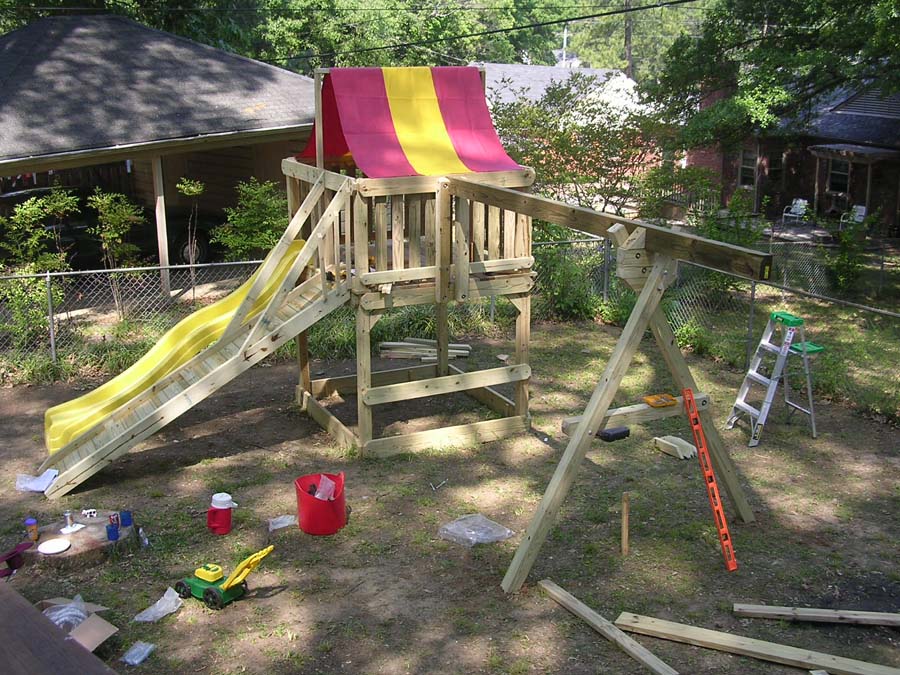
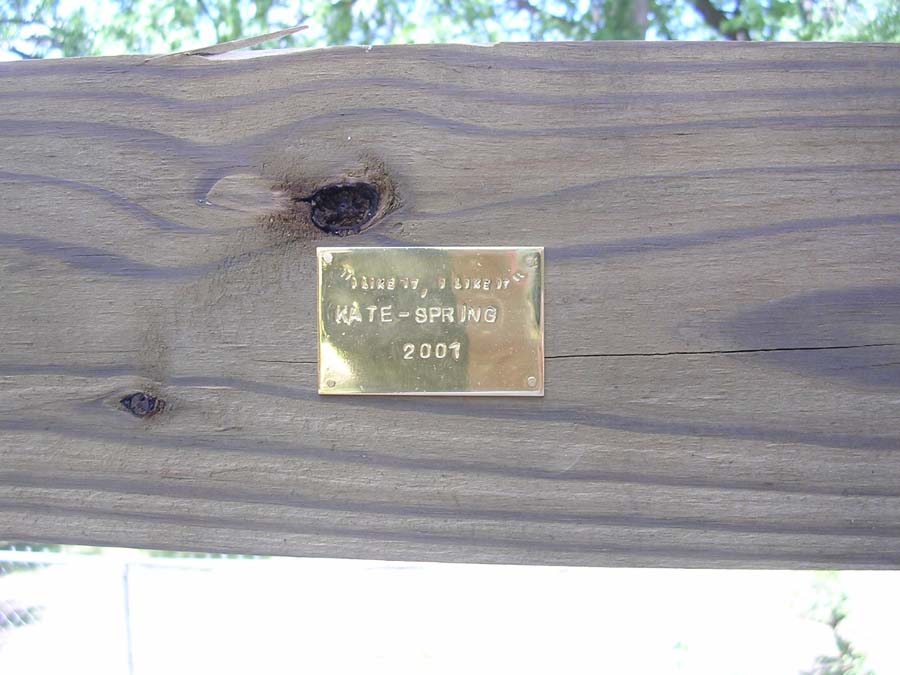
The fourth weekend was our first weekend of nothing but assembly. Around mid-week, my dad fashioned a cool brass dedication plaque that we will mount on the playground when it's done:
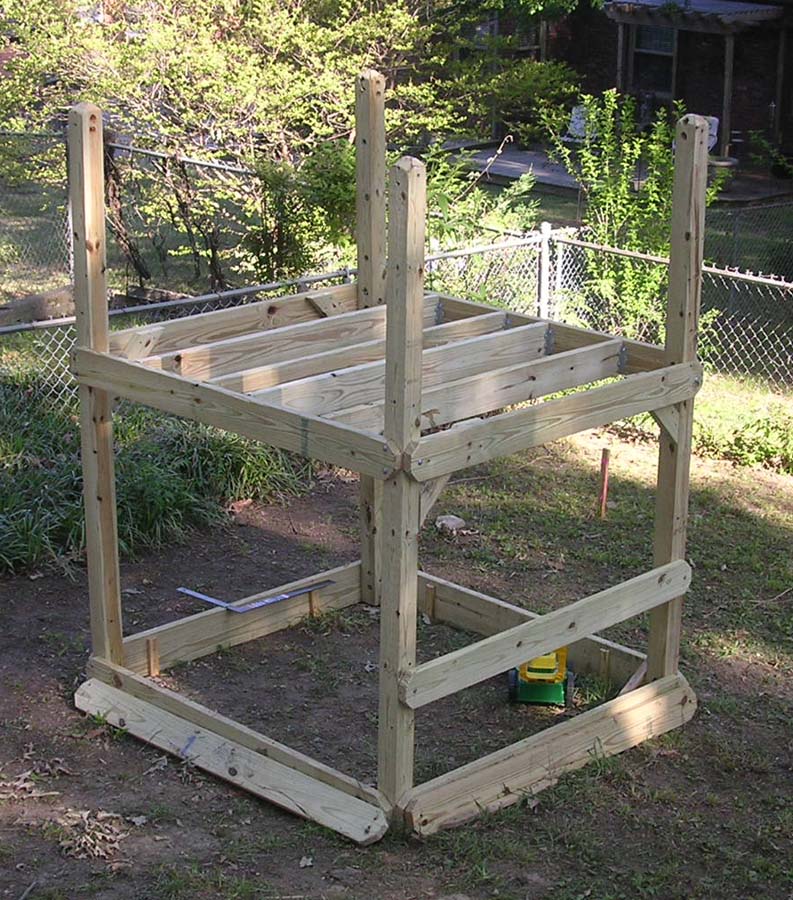
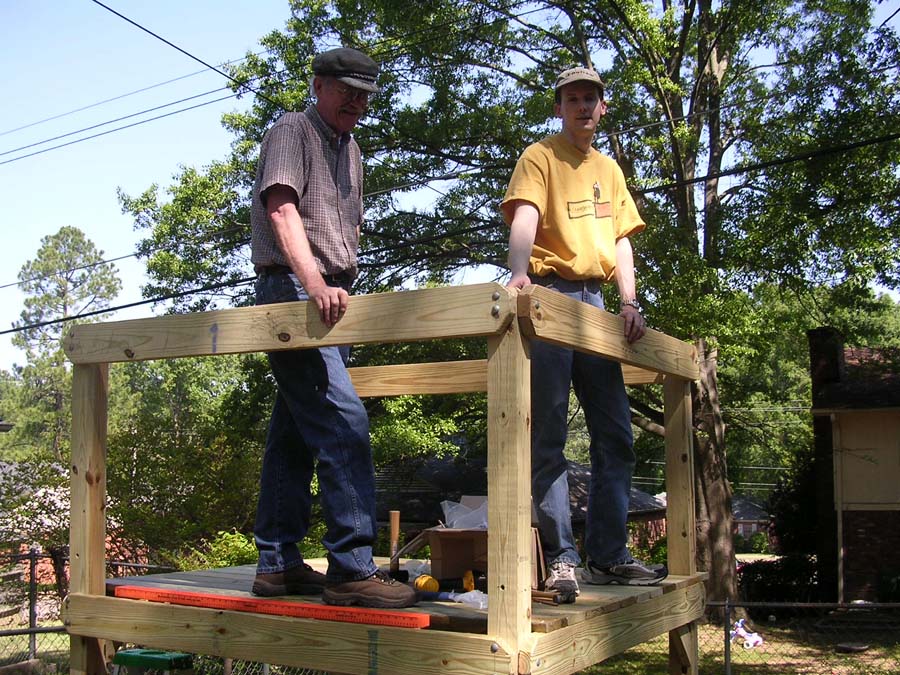
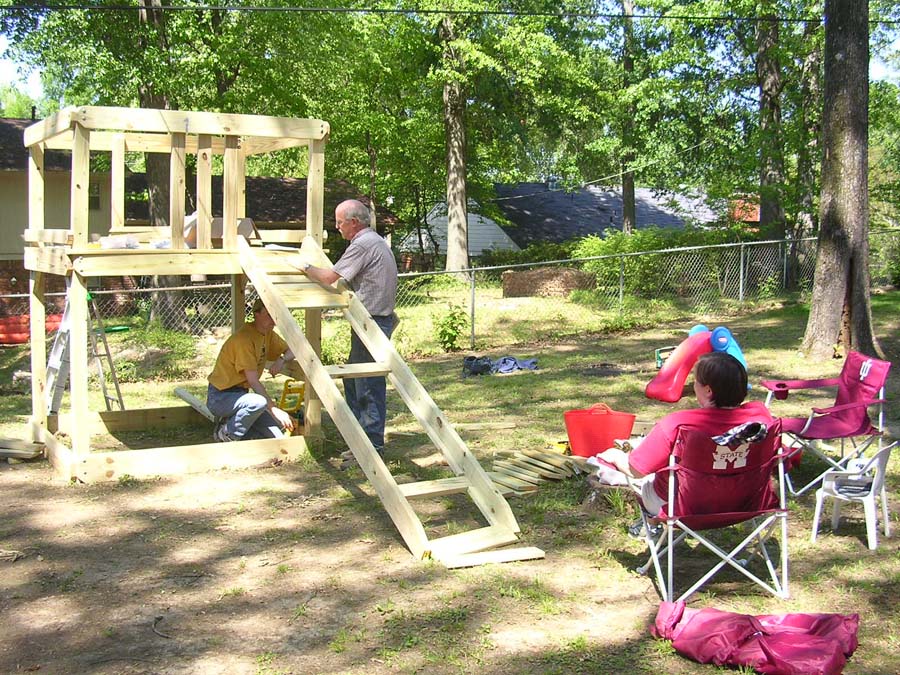
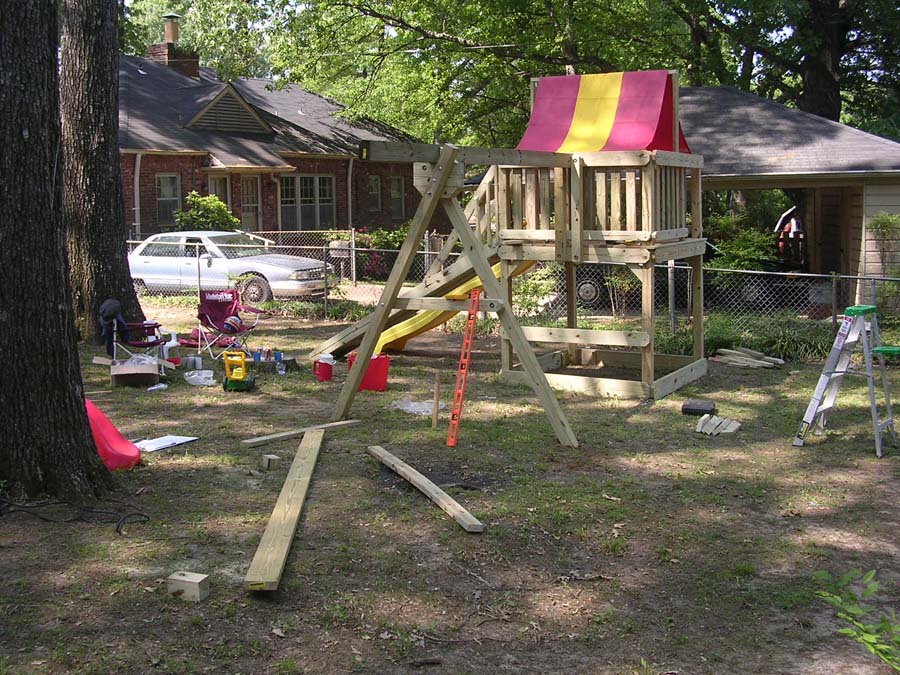
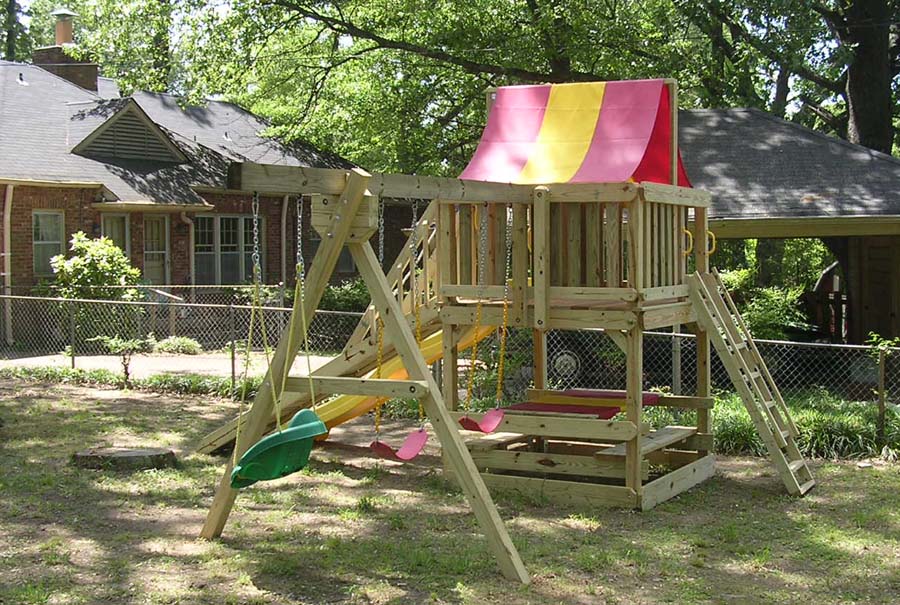
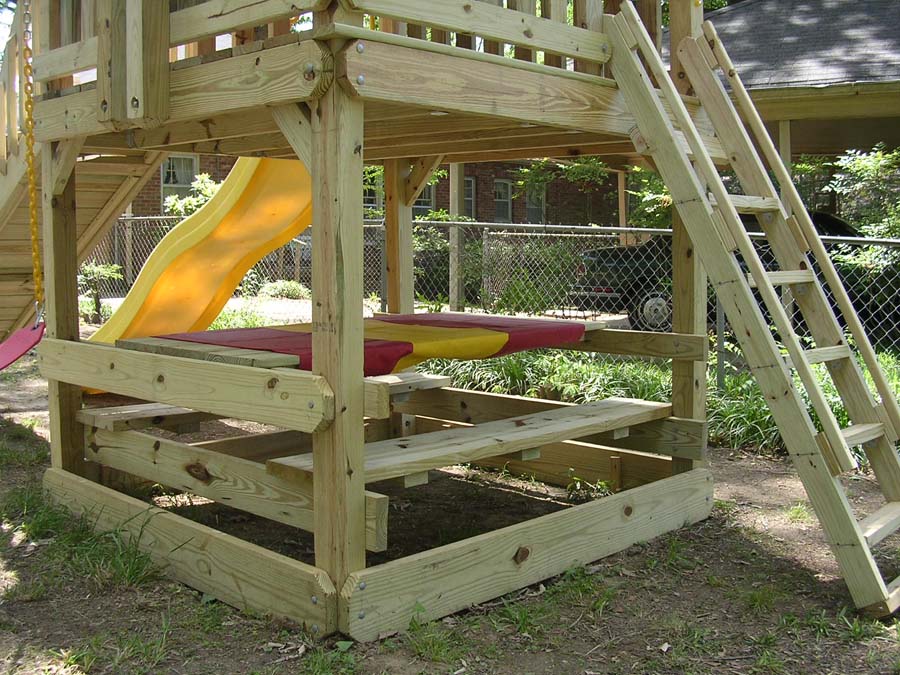
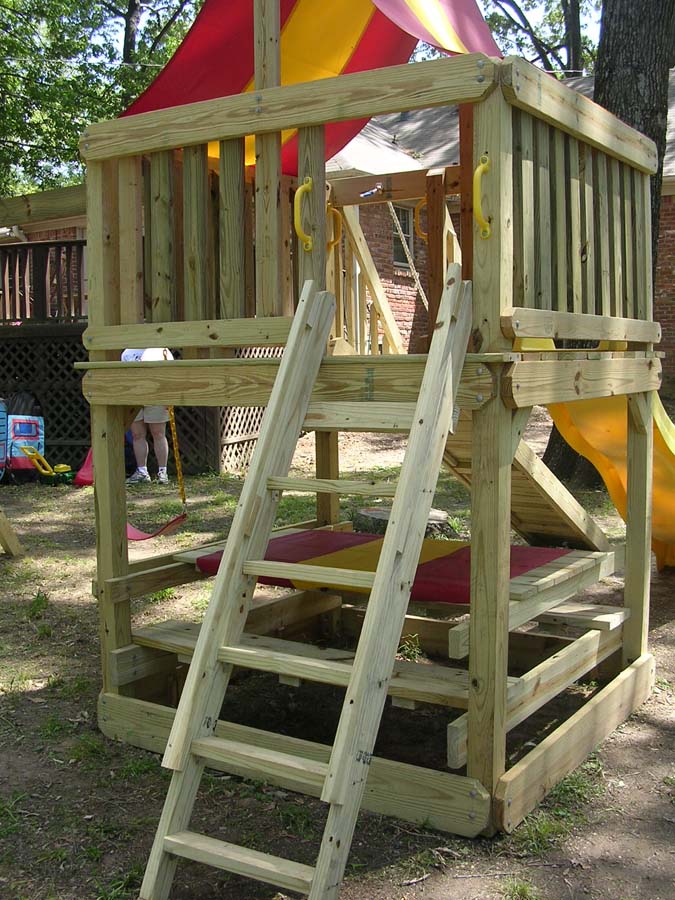
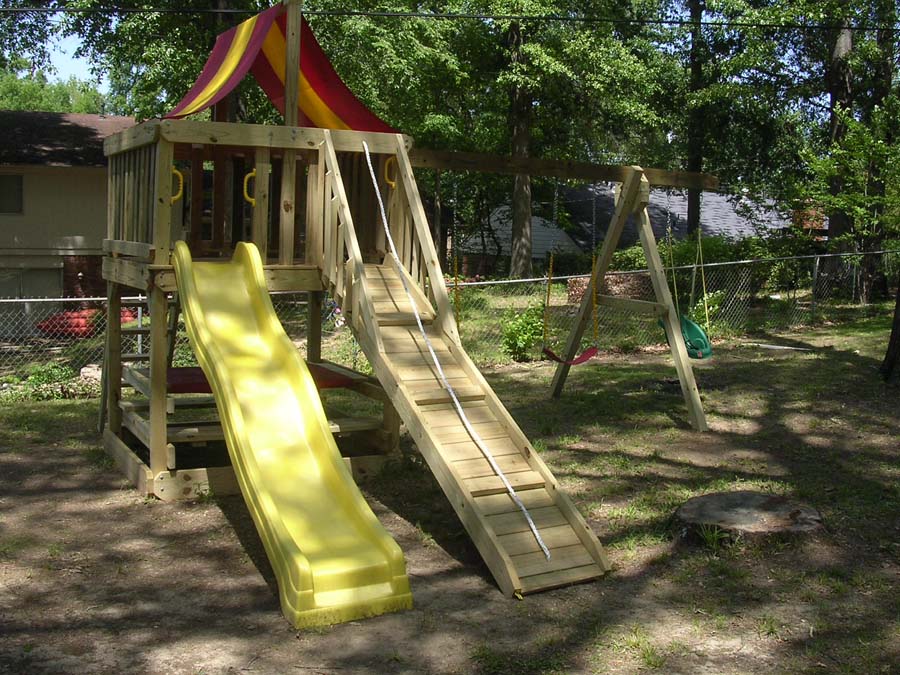
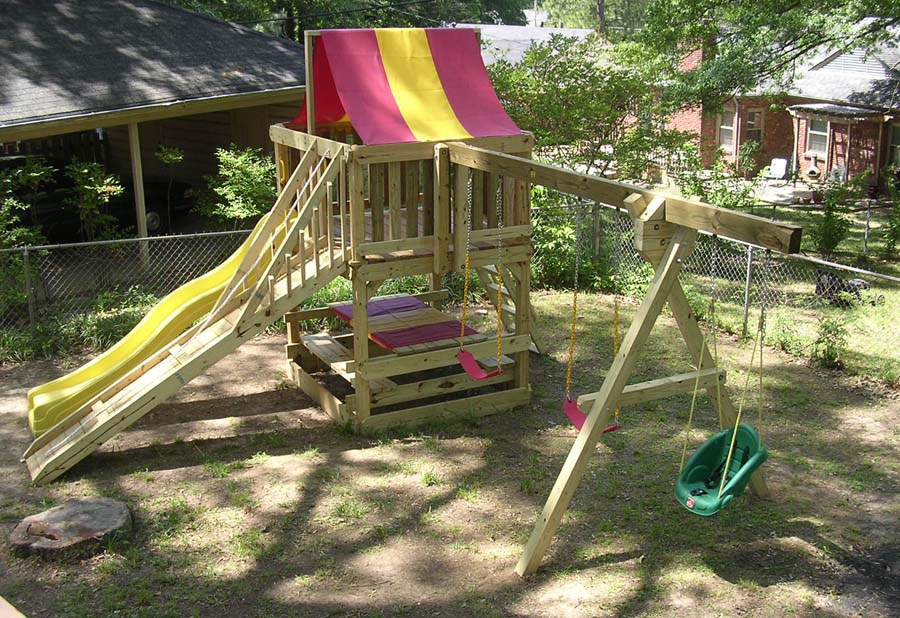
Friday night, Becca put up the joist hangers and I got the joists in place, which got us ready to start decking the fort first thing on Saturday morning. Saturday saw the decking installed, vertical supports and "walls" of the fort added, ramp built, roof frame put up, and slide set in place. It also saw our lumber pile dwindle significantly. Kate helped supervise a good bit as well as inspecting at several key points.
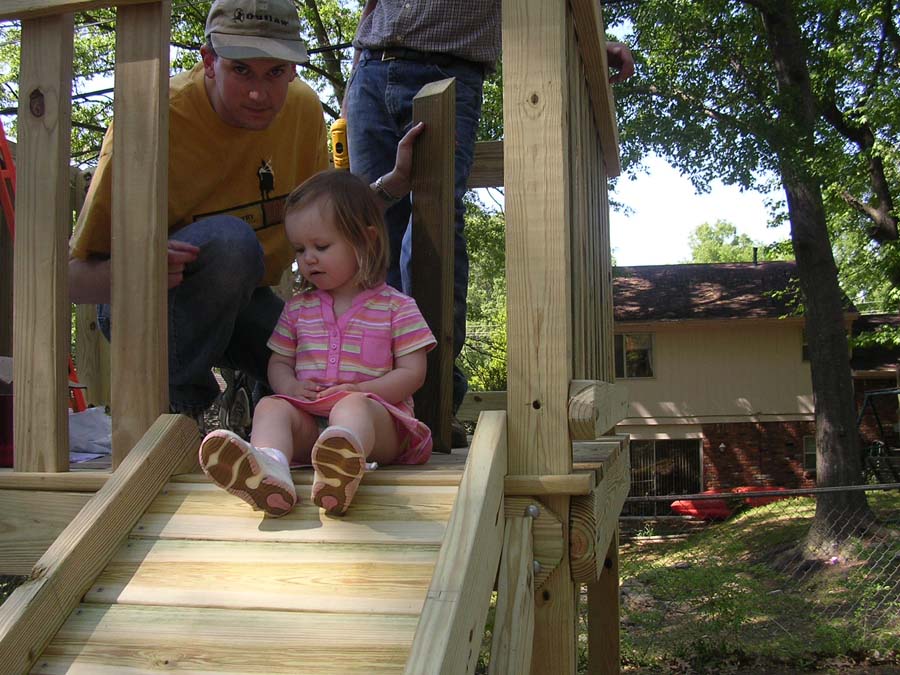
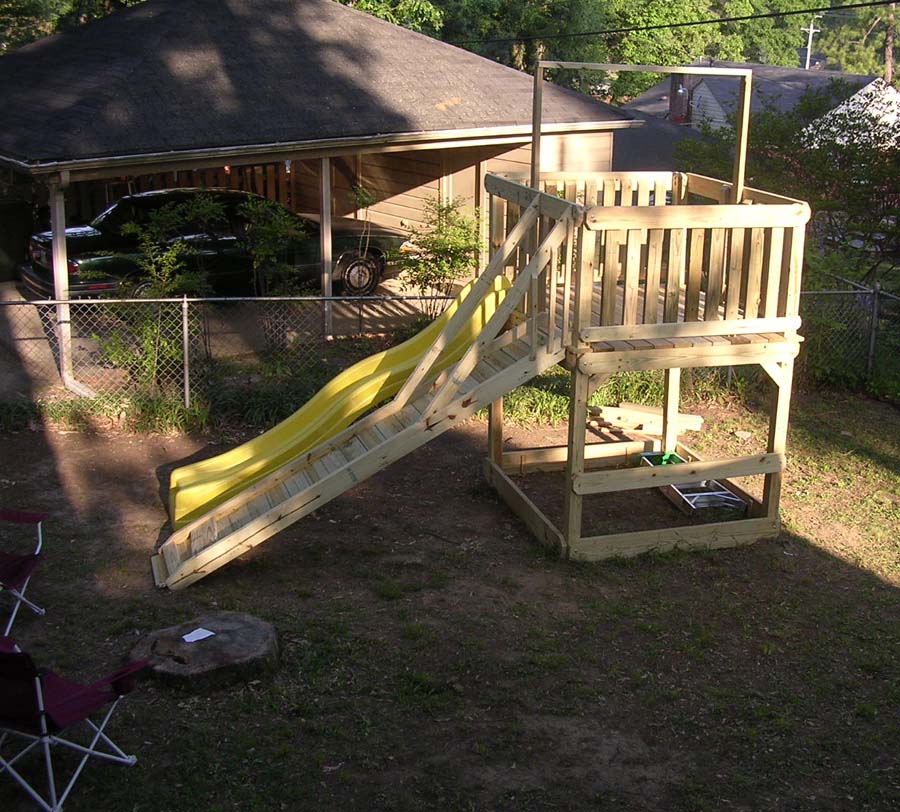

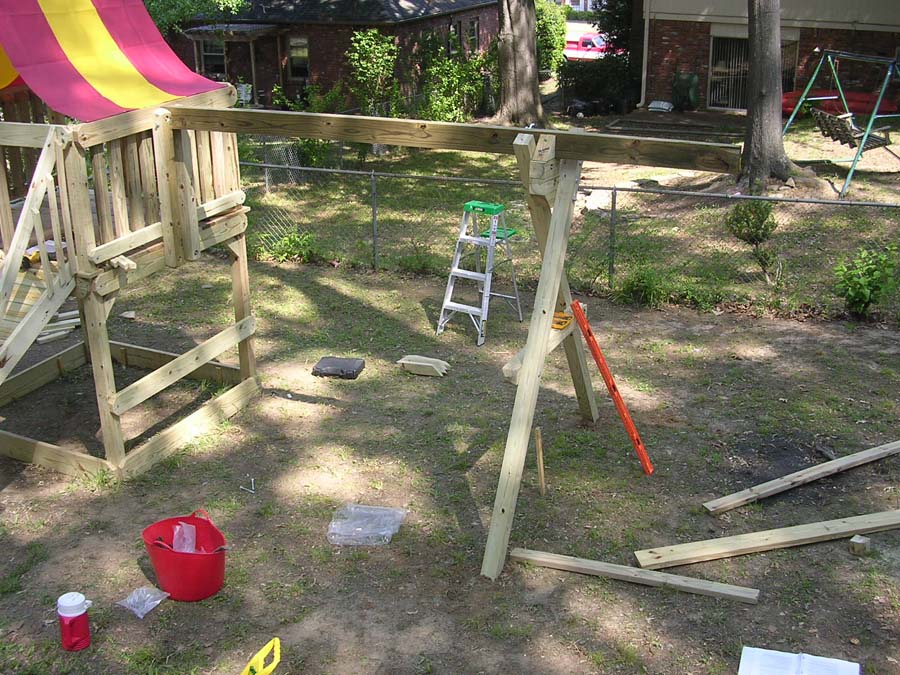
Our first task on Sunday morning was to get the swing arm up. Once that major task was behind us, we put on the roof tarp, put together the ladder, installed the ladder, mounted the slide to the fort, built the picnic table, and hung up Kate's kiddie swing (previously hung from a tree limb in the front yard and then on the front porch after the trees got trimmed).
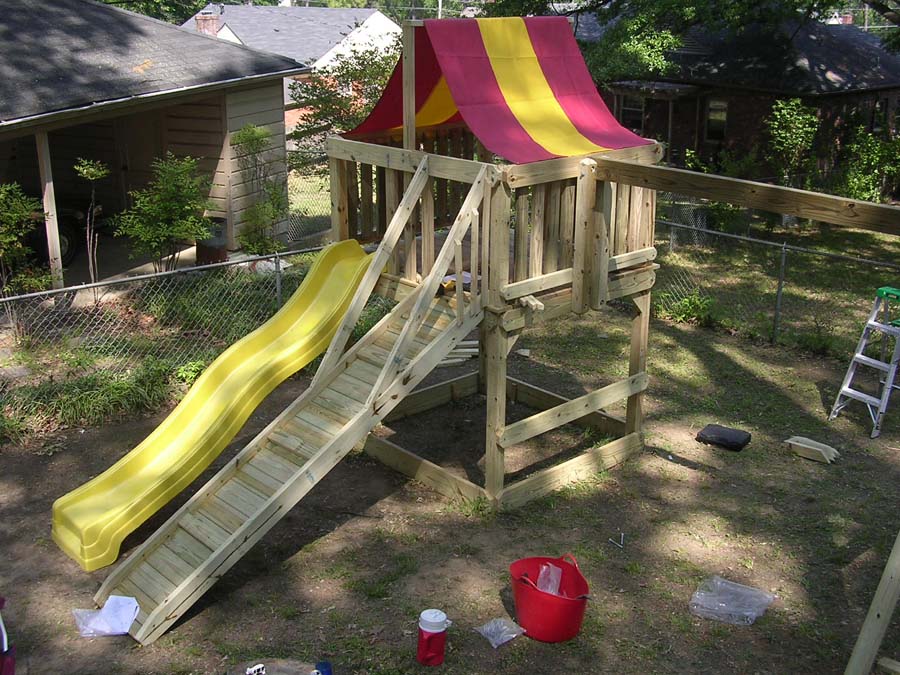

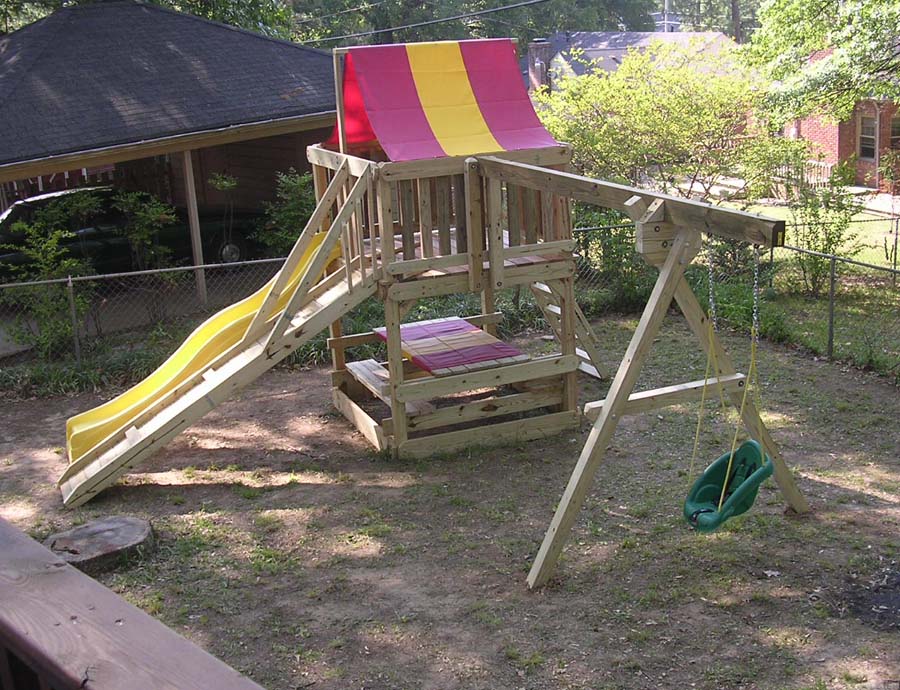
All that remains is to finish some little stuff (railing rope and verticals on the ramp, a piece of decking in a back corner, putting a few screws in the picnic table, and hanging the two other swings) and put on the plaque. Becca and I worked through that task list in a couple evenings and Saturday afternoon of the fifth week/weekend, at which point we were done.
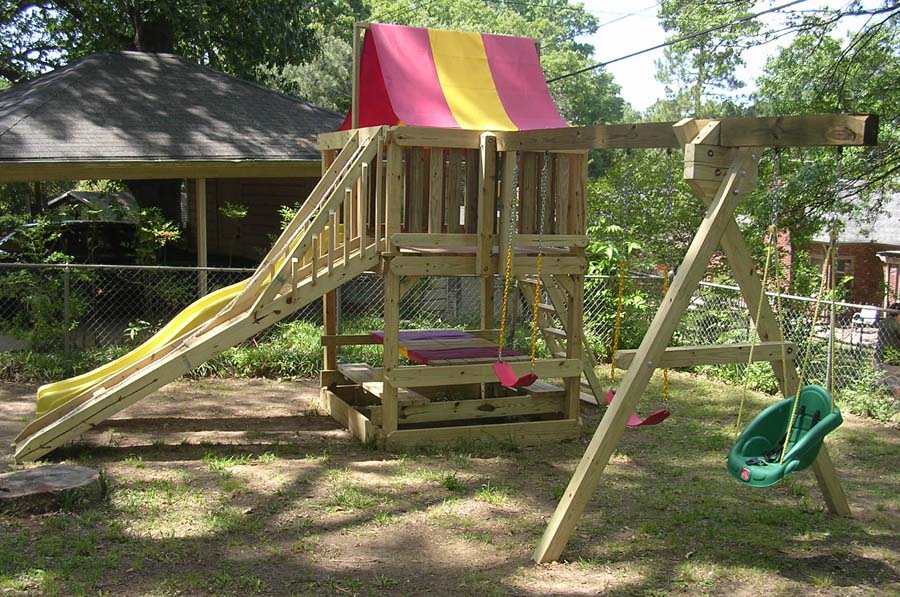
That marks the end of construction!